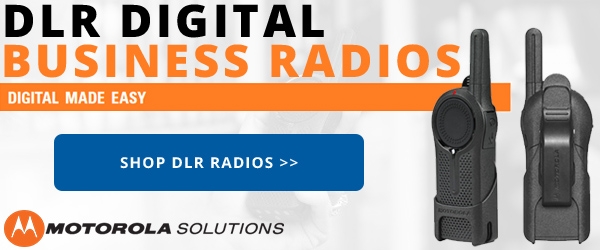
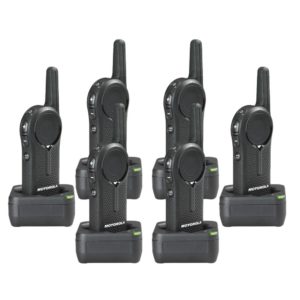
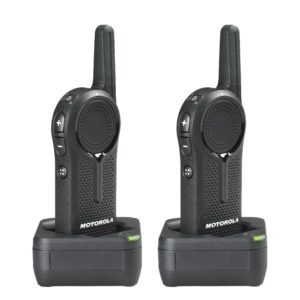
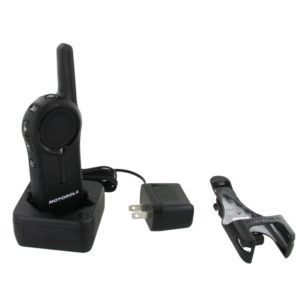
 One of the questions we get asked most often is "How hard is it to program the settings I need into the Motorola DLR radios?" While we realize this can seem confusing to novice radio users, Motorola does offer a free CPS (customer programming software) that will make this process much easier. In this article, we will be giving you some tips on how to use this software to meet your needs. These same steps apply for both the DLR1020 and DLR1060 models.
First, you will need to download the programming software from the DLR page at MotorolaSolutions.com. As already mentioned, this is a free download. Second, you will need to purchase the Motorola DLR series programming cable. Once you have these two things, you are ready to begin programming your Motorola DLR radios!
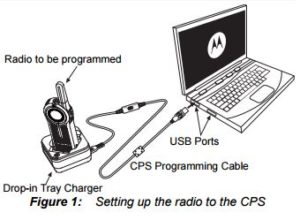 The programming cable will communicate with your radio via the drop-in charger tray. Plug one end of the cable into your USB port on your computer, and the other end into the power connector on the back your charger. Make sure the radio is secure in the charger tray and turned ON. Also, be sure that the switch on the programming cable is set to the position marked Digital.
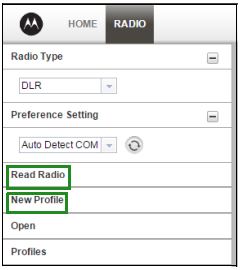 At this point you should be able to access your programming software. Run the application, choose RADIO in the top column and select "DLR" as your radio type. If you would like to view the current settings of your radio, click the option Read Radio. This will upload the current settings of the radio to the application. If you would like to begin customizing your radio based on the default settings, you can click New Profile.
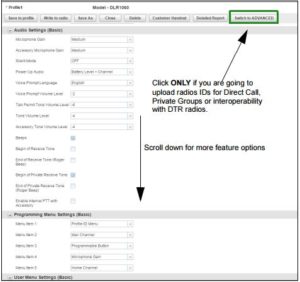 The screen that comes up will now give you the options to change your basic settings. These settings include options for setting the microphone gain, turning voice prompts on or off, setting volume levels, audible beeps, and selecting your "home" channel, just to name a few. This screen also has several options that you can choose to become part of your Advanced Settings, discussed in the next two paragraphs.
 In the top center of your screen, you will see a button labeled Switch to ADVANCED. These advanced settings offer several options, but the most commonly used is the Direct Call feature. This will give you the option to select and call an individual radio in your fleet, instead of transmitting to an entire group.
This feature comes in handy when you want to have private conversations. For instance, if two supervisors need to discuss something privately, without employees hearing them, they would use Direct Call. In order to enable the Direct Call feature in your Basic Menu options, you need to first upload the unique “private” identification (12 digit) number of each radio. Click on the Switch to ADVANCED button. Under Privates (Advanced) tab, click Add for CPS to upload the radio ID. You can customize the radio ID name under the Name column. Once a radio ID is uploaded, the CPS will give the option to enable Direct Call. Customize your PROFILE ID Number for any 4 digit number different from “0000” to differentiate your radios in a radio fleet.
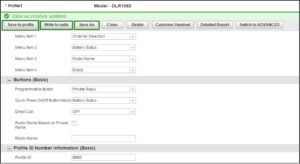 Once you have changed all the settings, click Write to radio in order to program your radio with the new settings. The CPS will display a window confirming the writing (programming of your radio) is successful. You can also save your profile at any time in order to use the same settings when programming other radios by clicking on Save to profile. This will save the profile to the current default path in your computer. To specify a different path to save the profile, click on the Save As button.
Your DLR radios are now programmed to your preferred settings, and you are ready to use them as needed! If you have any questions concerning the programming, please feel free to give us a call at 1-800-584-1445, and one of our experts will be happy to assist. We thank you for choosing Buy Two Way Radios!
